
 mariusmoza
Canine Kidney Ultrasound: Technique, Transducer Selection, and What to Look For
Renal ultrasound is one of those skills that looks deceptively straightforward on paper—until you’re wedged between a squirming dog, a dimly lit room, and limited acoustic windows that make every image harder to acquire. Done well, it’s one of the most clinically valuable tools in your diagnostic arsenal. Done carelessly, it’s an expensive way to not find a kidney.
Whether you’re building your ultrasound confidence from scratch or looking for a technique refresher, this guide covers the essentials of canine kidney scanning: patient prep, transducer selection, systematic evaluation, and what normal actually looks like—so you’ll recognize when something isn’t.
Step One: Give Yourself a Fighting Chance with Patient Prep
Before a single image is acquired, how well you prepare the patient will determine how good your scan can possibly be. No amount of technical skill compensates for poor acoustic contact, and nothing undermines acoustic contact faster than an unclipped coat.
When scanning canine kidneys, clip the hair over the last two to three intercostal spaces and extend the clip dorsally. This step is non-negotiable. Trying to image through an intact coat introduces artifact and signal loss that no transducer can overcome—and it turns what should be a focused diagnostic exam into an exercise in frustration.
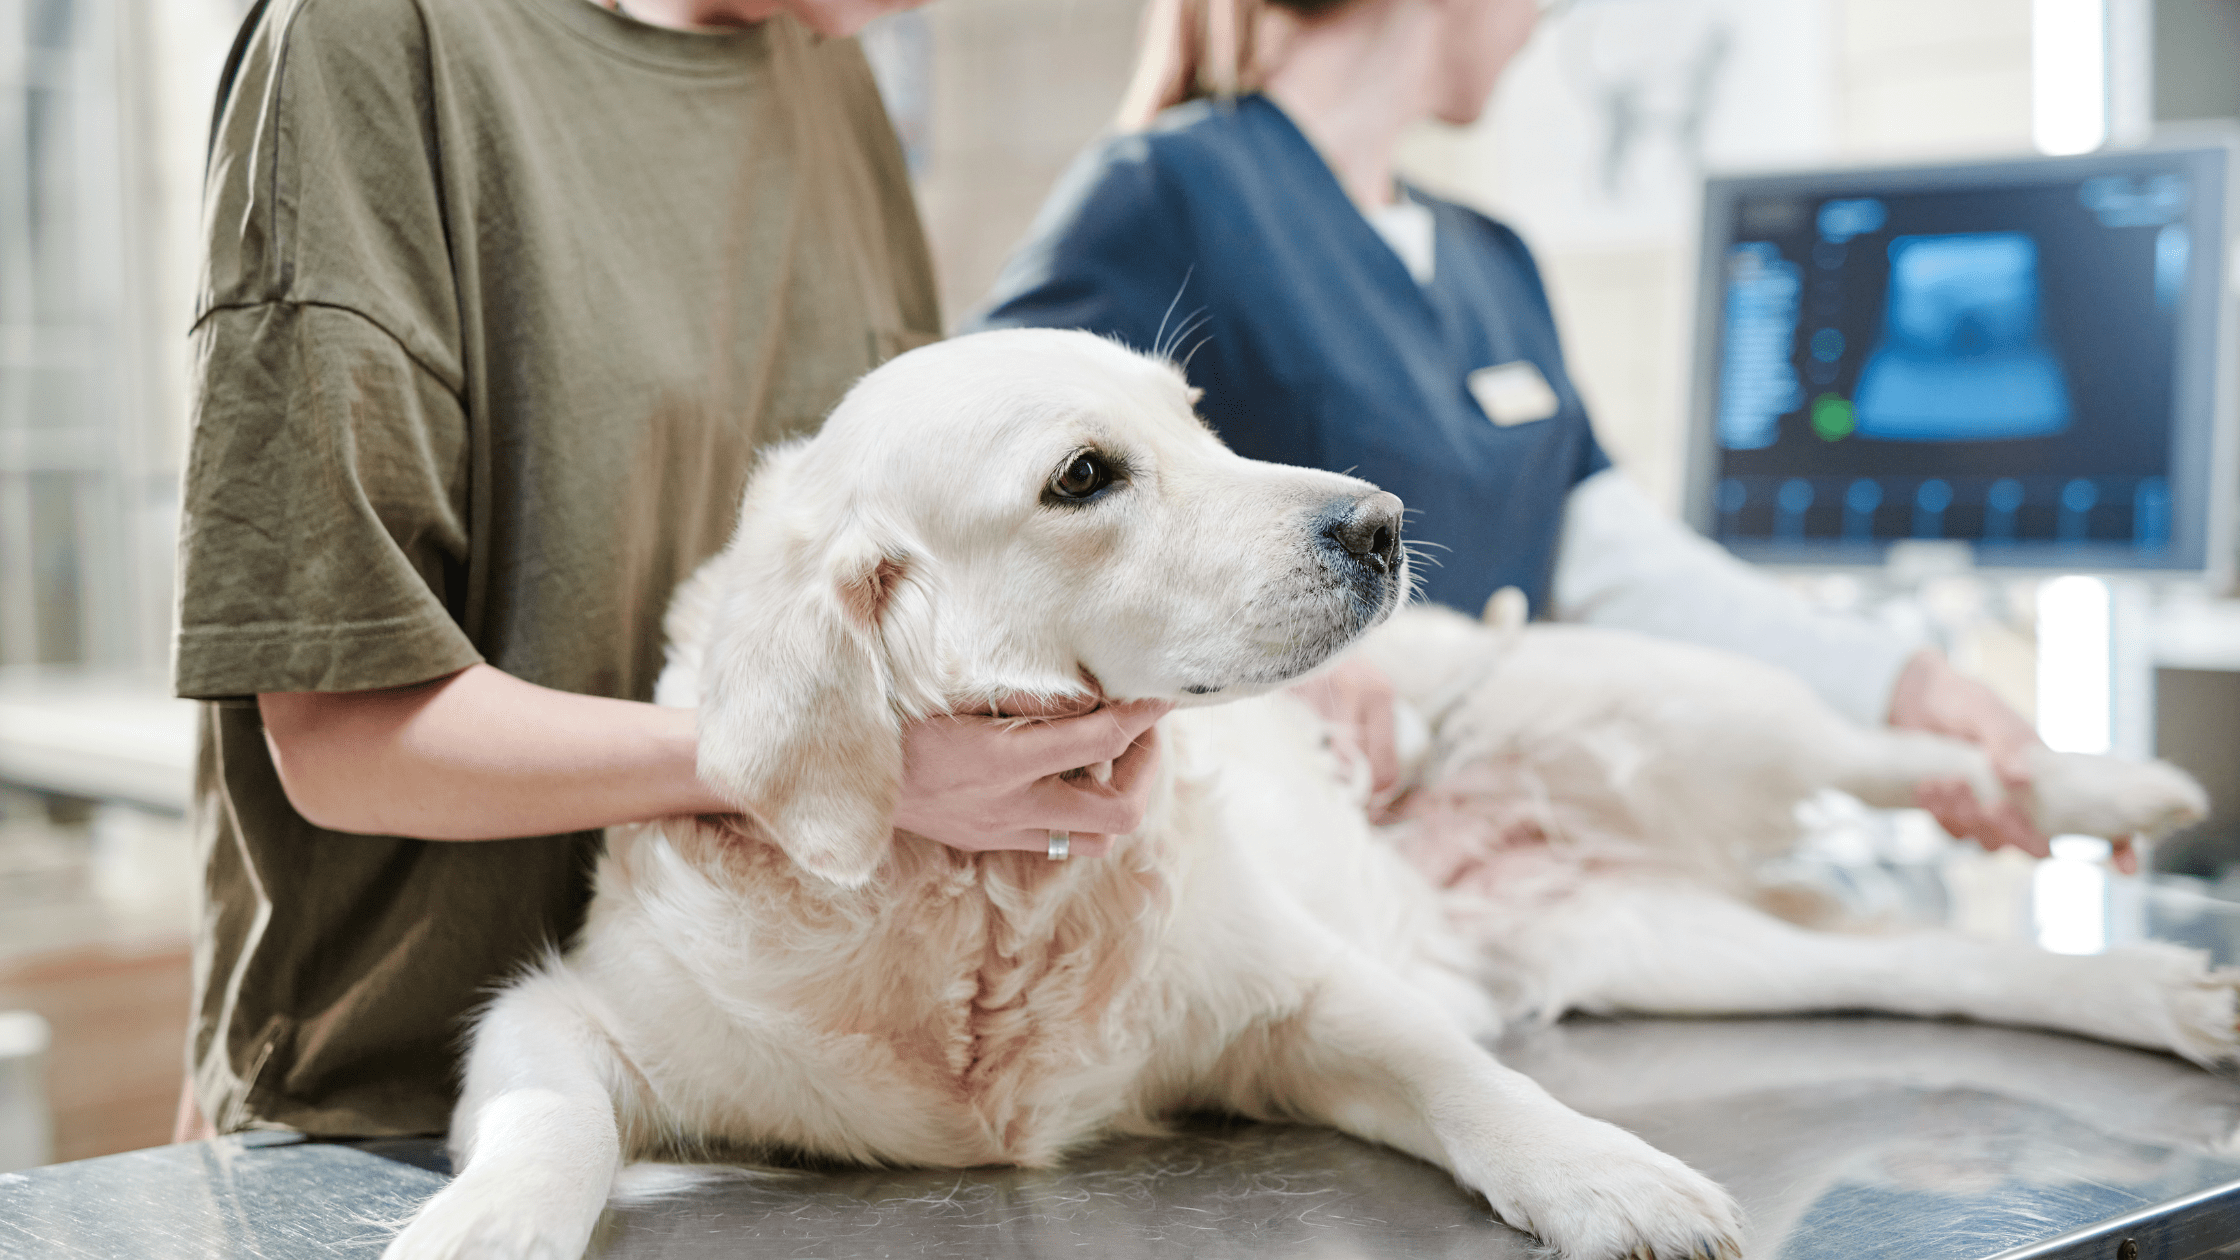
Once clipped, apply generous acoustic coupling gel and position your patient in dorsal or lateral recumbency depending on your preferred approach. Taking a moment to get comfortable before you start scanning pays off: ergonomics matter when you’re holding a transducer steady and interpreting images simultaneously.
Transducer Selection: Matching the Tool to the Patient
Transducer choice shapes the quality of everything you see. The two variables to get right are footprint size and frequency, and both are largely determined by the patient in front of you and the imaging window you’re working through.

Footprint: Intercostal vs. Subcostal Approach
For intercostal imaging, a small-footprint transducer is essential. It fits cleanly between the ribs without the rib-shadow interference that wider probes create, giving you the access you need without compromising image quality. For subcostal views, spatial constraints relax and a larger curved array probe is appropriate—one that delivers a wider field of view and better penetration for deeper structures.
Frequency: Balancing Depth and Resolution
In most dogs, a 5–10 MHz transducer covers the range well. Higher frequencies give better spatial resolution at shallower depths; lower frequencies penetrate more deeply at some cost to fine structural detail. Patient size should guide your selection:
- Giant breeds: Plan on greater tissue depth. Lower frequencies within your range will be necessary for adequate penetration.
- Average-sized dogs: A 5–10 MHz transducer handles most patients comfortably.
- Cats and small dogs: Higher frequencies are required for the resolution needed to image small kidneys. These patients also tend to be less cooperative, which adds its own dimension to the challenge.
Getting frequency right from the start means less time chasing a blurry image and more time actually interpreting one.
The SonoView® ultrasound system’s wireless, multi-array design—combining curved array, phased array, and linear array in one unit—gives you the flexibility to adapt your approach across patient sizes without changing equipment. Learn more about the SonoView ultrasound system.
Scanning Technique: Be Systematic
Once your patient is prepped and your transducer is in position, systematic evaluation is everything. The most common scanning error isn’t a technical failure—it’s an incomplete one.
Fully evaluate each kidney in both long axis and short axis—and importantly, “long” and “short” here are relative to the kidney itself, not the spine. Renal orientation varies between patients, and if you’re aligning your imaging planes to the spine rather than the organ, you’ll miss lesions that only reveal themselves off-axis.
Work through each kidney methodically: every cortical surface, every medullary pyramid, the renal pelvis, and the hilus. Subtle findings—early cysts, small masses, focal infarcts—are exactly the things that disappear when you rush. When something looks unusual, fan through it in multiple planes before moving on. Confirming whether a finding is real, incidental, or artifact takes an extra thirty seconds and saves a great deal of diagnostic uncertainty later.
Don’t Skip the Hilus
The renal hilus—where the vasculature, ureter, and renal pelvis converge—deserves deliberate attention and is easy to gloss over in a rushed exam. Dilation of the proximal ureter, vascular irregularities, and pelvic changes can all be detected here when you look for them specifically.
Assessing Kidney Size: Radiographs and Ultrasound Each Have a Role
Renal size assessment draws on both modalities, and knowing the standards for each keeps your diagnostic picture complete.
Radiographic Sizing: The L2 Standard
On ventrodorsal radiographs, the gold standard for renal sizing in dogs is comparing each kidney to the length of the L2 vertebral body. Normal canine kidneys measure approximately 2.5 to 3.5 times the length of L2. Anything outside that range warrants follow-up. Kidneys that are too small suggest chronic disease; kidneys that are too large may indicate infiltrative disease, obstruction, or neoplasia.
Ultrasound Sizing: Architecture Matters as Much as Dimensions
On ultrasound, size is only one part of what you’re evaluating. Architecture is equally informative—sometimes more so. The kidneys should be symmetrical in size and shape, with smooth, well-defined capsular margins. Asymmetry between the two kidneys, irregular or indistinct margins, or disrupted internal organization are all findings that warrant closer investigation and, often, specialist consultation.
Always compare left and right. A kidney that appears unremarkable in isolation may look significantly abnormal when placed next to its counterpart.
The SonoView® ultrasound system is designed for in-clinic use with expert backup when you need it—so you can evaluate complex cases confidently without sending every patient out. Request more information on the SonoView proctored model.

Normal Ultrasound Findings: What You Should Expect to See
Reliable identification of abnormal findings starts with a thorough understanding of normal ones. Healthy canine kidneys on ultrasound should be symmetrical, smooth-margined, and well-organized internally. Here’s what to expect in a normal patient.
Corticomedullary Contrast
There should be a clear, visible difference in echogenicity between the cortex and the medulla. The cortex appears more echogenic—brighter—than the medulla. This corticomedullary distinction is one of the most reliable markers of normal renal architecture on ultrasound. When it’s lost, blurred, or reversed, you’re looking at a finding that warrants attention. Conditions such as chronic kidney disease, glomerulonephritis, and various infiltrative processes can all disrupt this boundary in characteristic ways.
The Renal Pelvis
The renal pelvis may be visible on your scan, and in a normal patient that’s expected—as long as it remains unobtrusive. In normal dogs, the renal pelvis measures less than 2 mm. If it’s within that range and unremarkable in appearance, note it and move on.
If the renal pelvis is enlarged or prominent, that finding warrants investigation. Pelvic dilation can indicate hydronephrosis, obstruction, infection, or pyelonephritis—none of which should go unaddressed.
Which brings us to the one rule in this guide that is entirely non-negotiable: always scan the bladder. If the renal pelvis looks abnormal, scan the bladder. If everything looks normal, scan the bladder anyway. Hydronephrosis, ureterolithiasis, and lower urinary tract disease often announce themselves—or at least hint at themselves—downstream. Skipping the bladder means skipping half the story. Just kidding about the “if”—always scan the bladder.
Building Ultrasound Confidence In-Clinic: Where the SonoView® Ultrasound System Comes In
One of the most persistent barriers to in-house ultrasound isn’t equipment—it’s confidence. Many general practitioners are capable of more than they give themselves credit for, but without structured feedback during the learning curve, skills plateau or go underused.
The SonoView ultrasound system is designed to address that gap directly. Rather than leaving clinicians to build proficiency on their own, the SonoView system pairs advanced imaging hardware with a proctored learning model: remote expert support available via phone call or tele-presence as you scan your own patients in your own clinic.
That means you’re not choosing between developing skills and serving patients—you’re doing both simultaneously. You maintain your normal patient load, generate revenue from in-house ultrasound services from day one, avoid the cost and disruption of off-site training, and build genuine diagnostic proficiency over time with expert guidance behind you.
The SonoView system is available in two configurations:
- SonoView Mini-C: USB-powered, designed for point-of-care ultrasound (POCUS) and musculoskeletal imaging with Color Doppler.
- SonoView Nano: Wireless system combining curved array, phased array, and linear array in one unit. Operates on iOS, Android, and Windows.
For general practitioners who perform renal evaluations regularly—or who want to expand into abdominal ultrasound—having reliable, supported in-house imaging changes what’s possible for patients and practice alike.
Ready to bring proctored ultrasound into your clinic? Learn more about the SonoView ultrasound system. Or read more ultrasound content on the Zomedica blog.
Quick Reference: Canine Renal Ultrasound at a Glance
A practical summary of the key technique points covered in this guide:
- Prep: Clip the last 2–3 intercostal spaces and extend dorsally before scanning.
- Intercostal approach: Use a small-footprint transducer. Subcostal: curved array is appropriate.
- Frequency: 5–10 MHz for most dogs. Lower for giant breeds. Higher for cats and small dogs.
- Evaluate fully: Long and short axis, oriented to the kidney—not the spine.
- Radiographic sizing: Normal kidneys measure 2.5–3.5 × the L2 vertebral body length.
- Normal architecture: Symmetrical, smooth margins, distinct corticomedullary contrast.
- Renal pelvis: Less than 2 mm in normal dogs. Enlargement warrants investigation.
- Always: Scan the bladder.
©2026 Zomedica Inc. All rights reserved. SONOVIEW is a registered trademark of Zomedica Inc.
Disclaimer: The information provided on this blog is for general informational and educational purposes only. It is not intended as medical advice and should not be used as a substitute for professional medical guidance. Always consult a qualified healthcare provider before making any health‑related decisions.

 ecallen